How to fix transparency in Ubuntu
Ubuntu transparency issues Detailed guide on how to permanently fix transparency in Ubuntu with Mate Desktop environment. MATE transparency problems Sooner or later, you may
Step-by-step guide on how to set default sound output device in Ubuntu with MATE desktop environment
Let me start by saying that this tutorial should not even exist, and let me explain why. Imagine, for instance, that you have to change settings when you connect headphones to your mobile phone. This fact would certainly discourage a few people from buying a device like that. Yet, in Ubuntu, this is normal. Would I still recommend Ubuntu to a non-technical person like myself? Of course, I would. I enjoy using it. If you did not try Ubuntu yet, you can install it following my How to install Ubuntu on Raspberry Pi guide.
If you did not experience sound issues, let me clarify what I am talking about. On Raspberry Pi with Ubuntu audio, by default, is directed to the headphone jack. If your Raspberry is connected to a TV or a monitor with speakers, you will not hear any sound. You have to go into Sound Preferences and manually change the settings. You have to do it every time the system is restarted. Even though this is not a big issue, I decided to get it fixed.
It took me a while to find a solution. But finally, I can listen to music and watch YouTube videos without changing any settings. Let’s get to work and find out how to fix sound in Ubuntu.
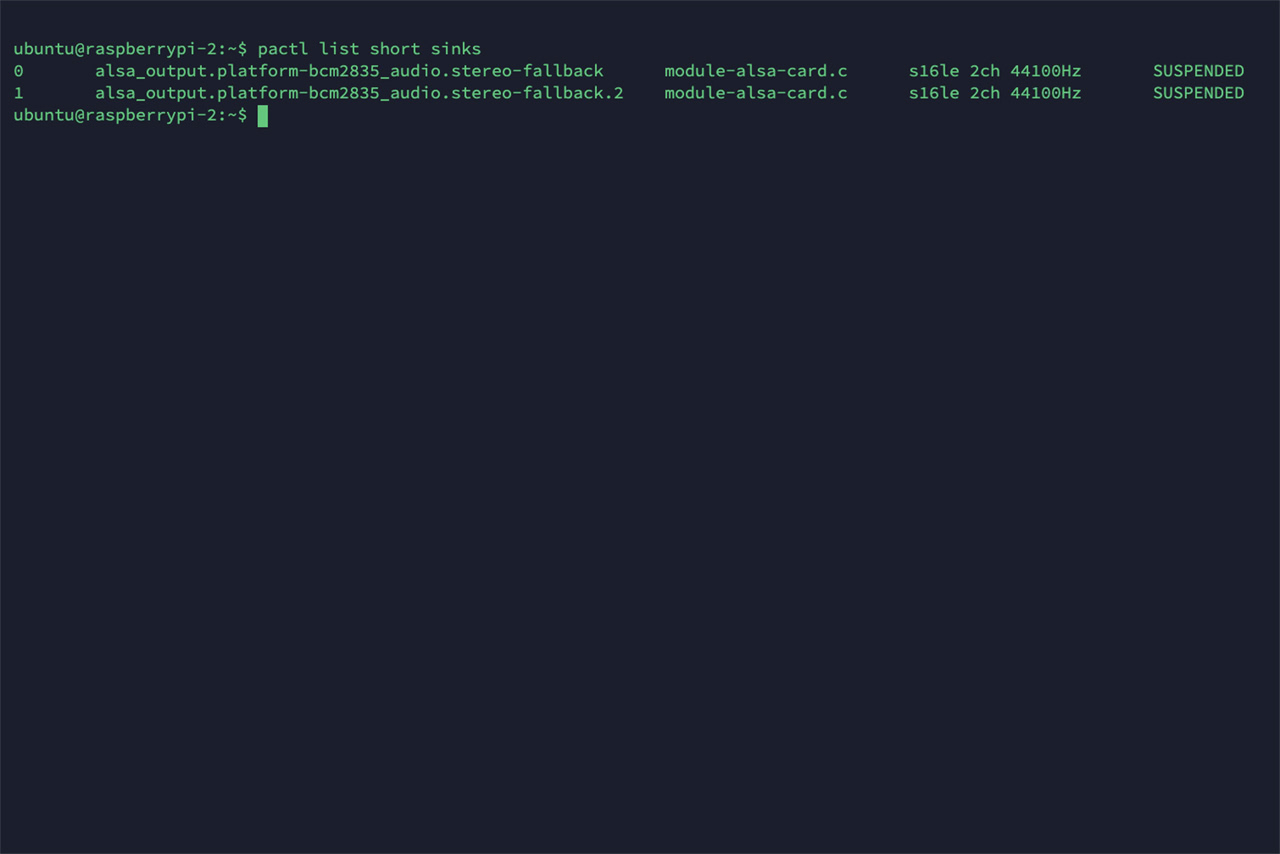
First we need to find all audio output devices on our system. On Raspberry Pi this is easy as there are just two audio devices. One for headphone jack and one for HDMI output. To see the device list type the command below in terminal and press the Enter key.
pactl list short sinks
The output of the above command should look similar to the screen capture below. The problem is that we don’t know which device is for headphones and which is for the HDMI output. Fortunately there are only two possibilities so testing will only take a minute.
Sound Settings by clicking on the speaker icon in the top right hand corner of the screen. Now click on the Output tab. 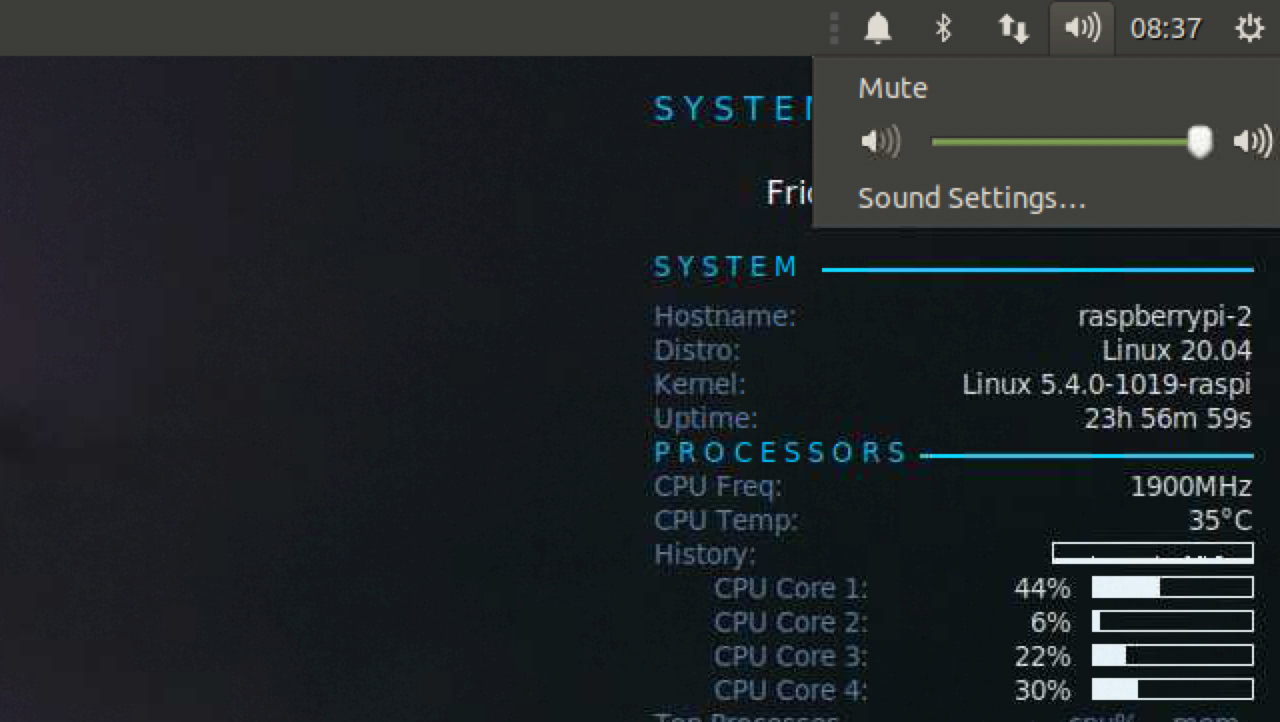
Sound Preferences window like in the screen capture below. 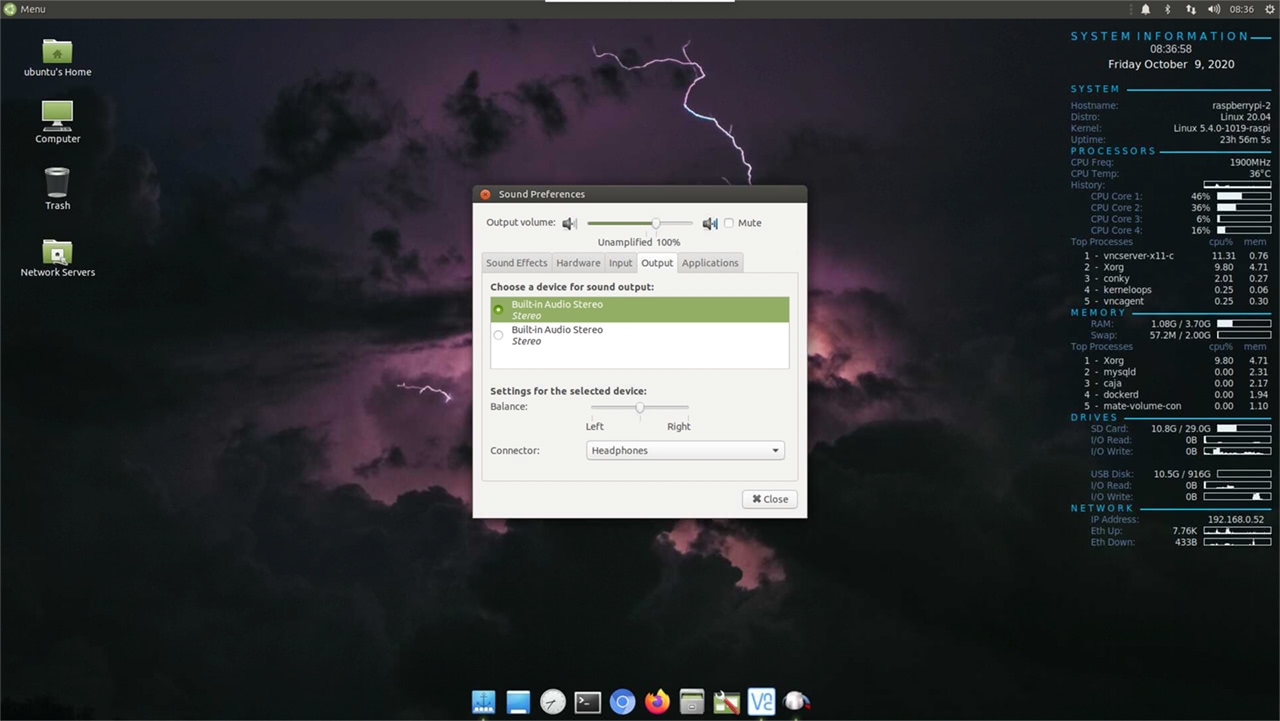
...stero-fallback.2 device. Execute the below command in the terminal window and watch the Sound Preferences window.
pactl set-default-sink alsa_output.platform-bcm2835_audio.stereo-fallback.2
...device for sound output: window and the Connector still displays Headphones, we know that it is not the ...stero-fallback.2 device. 
...stero-fallback will be the correct choice but let’s test it to make sure. Copy and paste the below command in the terminal window then execute it. The output device should have changed and Connector should now display Analog Output.
pactl set-default-sink alsa_output.platform-bcm2835_audio.stereo-fallback
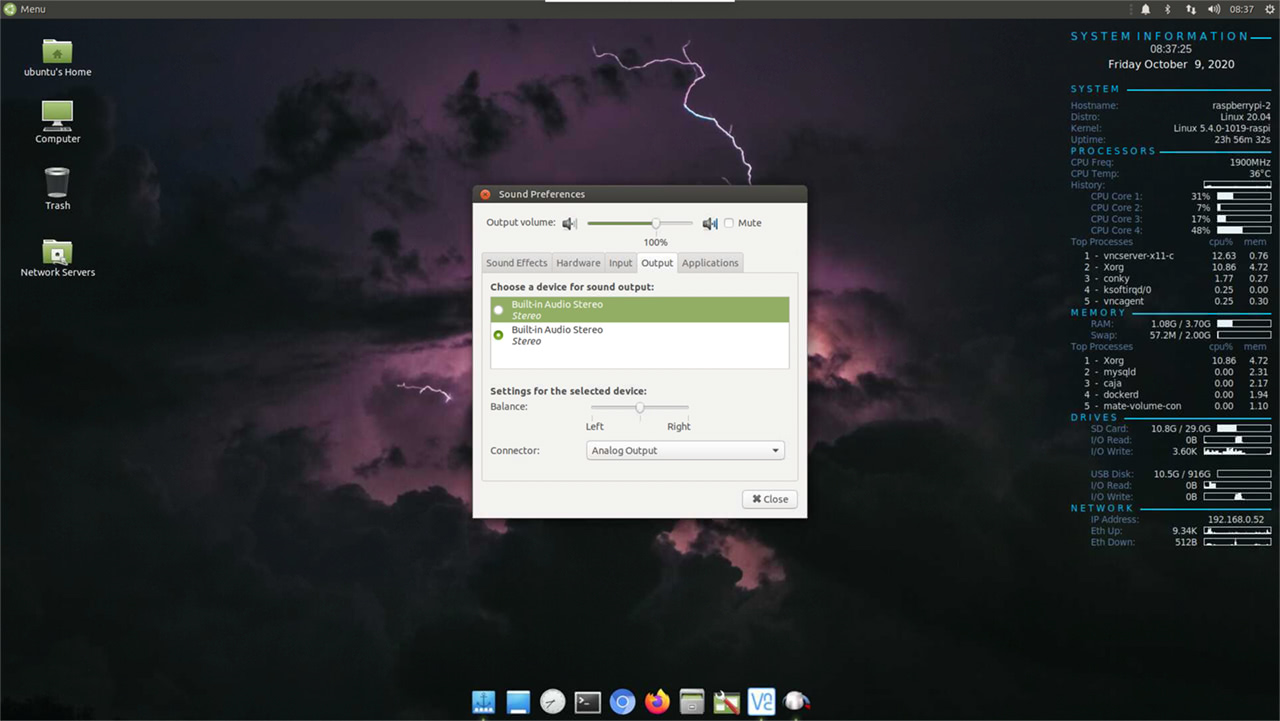
Great! We identified the audio output device directing sound to the HDMI interface. Time to fix it once and for all.
Here is the essence of how to fix sound in Ubuntu. Since we identified the correct audio output device, all we have to do now is execute the command when the system starts up. In order to run the command when the system boots up we need to setup a new entry in the Startup Applications.
From the main menu select Control Center. Scroll down to the Startup Applications and open it then click the Add button. In the Add Startup Program window give you app a name. I used Set sound output but feel free to give a name that will make sense to you. In the Command window paste the command below. I gave my Startup Program a 10 second delay although this is probably not necessary.
pactl set-default-sink alsa_output.platform-bcm2835_audio.stereo-fallback
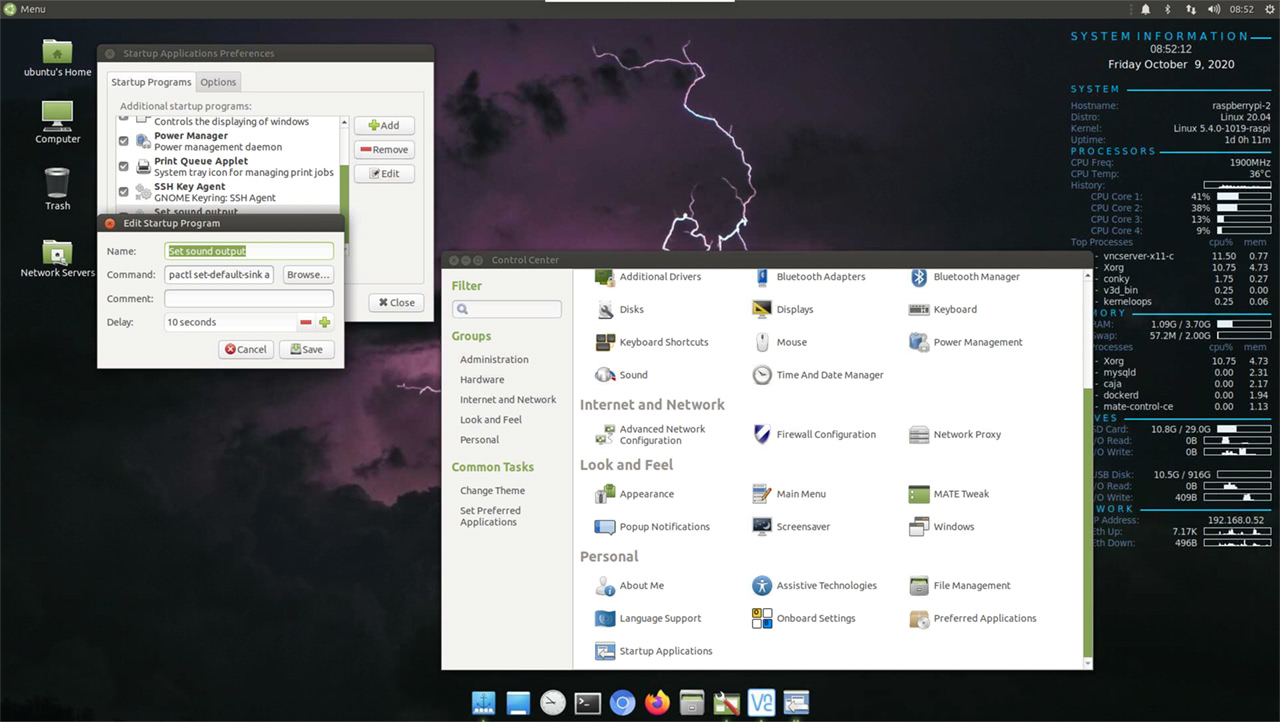
This is it for the how to fix sound in Ubuntu guide. Is there a better way of getting this done? Despite not being a Linux expert I am sure that there are multiple ways of solving this problem. If you know about a better solution let me know in the comments on U Press Me Facebook page.

Ubuntu transparency issues Detailed guide on how to permanently fix transparency in Ubuntu with Mate Desktop environment. MATE transparency problems Sooner or later, you may

RealVNC on Ubuntu Step-by-step guide on how to install RealVNC server on Ubuntu with MATE desktop. How to install RealVNC server on Ubuntu So why
Ubuntu on Raspberry Pi Step-by-step guide on how to install Ubuntu server with MATE desktop environment on Raspberry Pi. Install Ubuntu with Mate desktop I

© 2022 U Press Me. ALL RIGHTS RESERVED